
This is where I will publish my projects:
Project number 1: LED Lights sequence.
What you will need: download arduino software,
Portable IDE (Windows and Linux)
Once you have downloaded the matching software, buy a Arduino Uno board,
This link above will take you to the arduino website where you can buy more materials. For this project you will need:
Arduino Uno
Bread board
Jumper wires
Led Lights
USB Cable(To compile code)
3 220 OHM resisters
Starting off the project, connect the ground pin(GND) to the negative rail of the breadboard. then connect all of the resistors one leg on the negative rail and the other somewhere in the middle of the bread board. Before inserting the LED’s note that the longer pin is the positive side, and the shorter pin is the negative side of the LED. Connect the negative pin of the LED to the other side of of the 220 OHM resistors that is not connected to the GND. Do the same for all 3 LED’s.
Then use connect jumper wires to connect numbers 13(Right side LED),12(LED in the center), and 11(Left side LED) to the positive pin of the LED. code:int LED1 = 13;
int LED2 = 12;
int LED3 = 11;
CODE:
void setup() {
pinMode(LED1, OUTPUT);
pinMode(LED2, OUTPUT);
pinMode(LED3, OUTPUT);
}
void loop() {
digitalWrite(LED1, HIGH); // turn on LED1
delay(200); // wait for 200ms
digitalWrite(LED2, HIGH); // turn on LED2
delay(200); // wait for 200ms
digitalWrite(LED3, HIGH); // turn on LED3
delay(200); // wait for 200ms
digitalWrite(LED1, LOW); // turn off LED1
delay(300); // wait for 300ms
digitalWrite(LED2, LOW); // turn off LED2
delay(300); // wait for 300ms
digitalWrite(LED3, LOW); // turn off LED3
delay(300); // wait for 300ms before running program all over again
}
Project number 2: The motion detector.
what you will need:
1- ARDUINO
2-HC-SR04 Ultrasonic Sensor
3-Buzzer
4-a few jumper wires
5- a breadboard
For this project, i have schematics

code:
const int trigPin = 9;
const int echoPin = 10;
const int buzzer = 11;
const int ledPin = 13;
// defines variables
long duration;
int distance;
int safetyDistance;
void setup() {
pinMode(trigPin, OUTPUT); // Sets the trigPin as an Output
pinMode(echoPin, INPUT); // Sets the echoPin as an Input
pinMode(buzzer, OUTPUT);
pinMode(ledPin, OUTPUT);
Serial.begin(9600); // Starts the serial communication
}
void loop() {
// Clears the trigPin
digitalWrite(trigPin, LOW);
delayMicroseconds(2);
// Sets the trigPin on HIGH state for 10 micro seconds
digitalWrite(trigPin, HIGH);
delayMicroseconds(10);
digitalWrite(trigPin, LOW);
// Reads the echoPin, returns the sound wave travel time in microseconds
duration = pulseIn(echoPin, HIGH);
// Calculating the distance
distance= duration*0.034/2;
safetyDistance = distance;
if (safetyDistance <= 5){
digitalWrite(buzzer, HIGH);
digitalWrite(ledPin, HIGH);
}
else{
digitalWrite(buzzer, LOW);
digitalWrite(ledPin, LOW);
}
// Prints the distance on the Serial Monitor
Serial.print(“Distance: “);
Serial.println(distance);
}
Project Number 3!: Joystick controlled Servo motor
Items needed:
- Arduino board
- Jumper wires
- Servo Motor
- Joystick
Here are the Schematics:

And here is the code:
|
#include <Servo.h>
Servo servo1;
Servo servo2;
int joyX = 0;
int joyY = 1;
int servoVal;
void setup()
{
servo1.attach(3);
servo2.attach(5);
}
void loop()
{
servoVal = analogRead(joyX);
servoVal = map(servoVal, 0, 1023, 0, 180);
servo1.write(servoVal);
servoVal = analogRead(joyY);
servoVal = map(servoVal, 0, 1023, 70, 180);
servo2.write(servoVal);
delay(15);
}
|
Now to start this off you have to open the python page. ( i would consider that you go back to the page were i show you the main functions of python) then use this code. ( code by @TokyoEdTech on github)
# By @TokyoEdTech
import turtle
import os
wn = turtle.Screen()
wn.title("Pong")
wn.bgcolor("black")
wn.setup(width=800, height=600)
wn.tracer(0)
# Score
score_a = 0
score_b = 0
# Paddle A
paddle_a = turtle.Turtle()
paddle_a.speed(0)
paddle_a.shape("square")
paddle_a.color("white")
paddle_a.shapesize(stretch_wid=5,stretch_len=1)
paddle_a.penup()
paddle_a.goto(-350, 0)
# Paddle B
paddle_b = turtle.Turtle()
paddle_b.speed(0)
paddle_b.shape("square")
paddle_b.color("white")
paddle_b.shapesize(stretch_wid=5,stretch_len=1)
paddle_b.penup()
paddle_b.goto(350, 0)
# Ball
ball = turtle.Turtle()
ball.speed(0)
ball.shape("square")
ball.color("white")
ball.penup()
ball.goto(0, 0)
ball.dx = 2
ball.dy = 2
# Pen
pen = turtle.Turtle()
pen.speed(0)
pen.shape("square")
pen.color("white")
pen.penup()
pen.hideturtle()
pen.goto(0, 260)
pen.write("Player A: 0 Player B: 0", align="center", font=("Courier", 24, "normal"))
# Functions
def paddle_a_up():
y = paddle_a.ycor()
y += 20
paddle_a.sety(y)
def paddle_a_down():
y = paddle_a.ycor()
y -= 20
paddle_a.sety(y)
def paddle_b_up():
y = paddle_b.ycor()
y += 20
paddle_b.sety(y)
def paddle_b_down():
y = paddle_b.ycor()
y -= 20
paddle_b.sety(y)
# Keyboard bindings
wn.listen()
wn.onkeypress(paddle_a_up, "w")
wn.onkeypress(paddle_a_down, "s")
wn.onkeypress(paddle_b_up, "Up")
wn.onkeypress(paddle_b_down, "Down")
# Main game loop
while True:
wn.update()
# Move the ball
ball.setx(ball.xcor() + ball.dx)
ball.sety(ball.ycor() + ball.dy)
# Border checking
# Top and bottom
if ball.ycor() > 290:
ball.sety(290)
ball.dy *= -1
os.system("afplay bounce.wav&")
elif ball.ycor() < -290:
ball.sety(-290)
ball.dy *= -1
os.system("afplay bounce.wav&")
# Left and right
if ball.xcor() > 350:
score_a += 1
pen.clear()
pen.write("Player A: {} Player B: {}".format(score_a, score_b), align="center", font=("Courier", 24, "normal"))
ball.goto(0, 0)
ball.dx *= -1
elif ball.xcor() < -350:
score_b += 1
pen.clear()
pen.write("Player A: {} Player B: {}".format(score_a, score_b), align="center", font=("Courier", 24, "normal"))
ball.goto(0, 0)
ball.dx *= -1
# Paddle and ball collisions
if ball.xcor() < -340 and ball.ycor() < paddle_a.ycor() + 50 and ball.ycor() > paddle_a.ycor() - 50:
ball.dx *= -1
os.system("afplay bounce.wav&")
elif ball.xcor() > 340 and ball.ycor() < paddle_b.ycor() + 50 and ball.ycor() > paddle_b.ycor() - 50:
ball.dx *= -1
os.system("afplay bounce.wav&")
(credit to@TokyoEdTech)
after this use the turtle module to run this exact code. you can add your own features, for example you can change the background color to a more noticeable color, like red or blue. you can also change the way the game works like you can to two points every time the ball crosses the line. Enjoy!
Alright, today were gonna do something new!
everyone has to has to have wanted to 3d print something in their life. i mean, its the coolest thing ever!
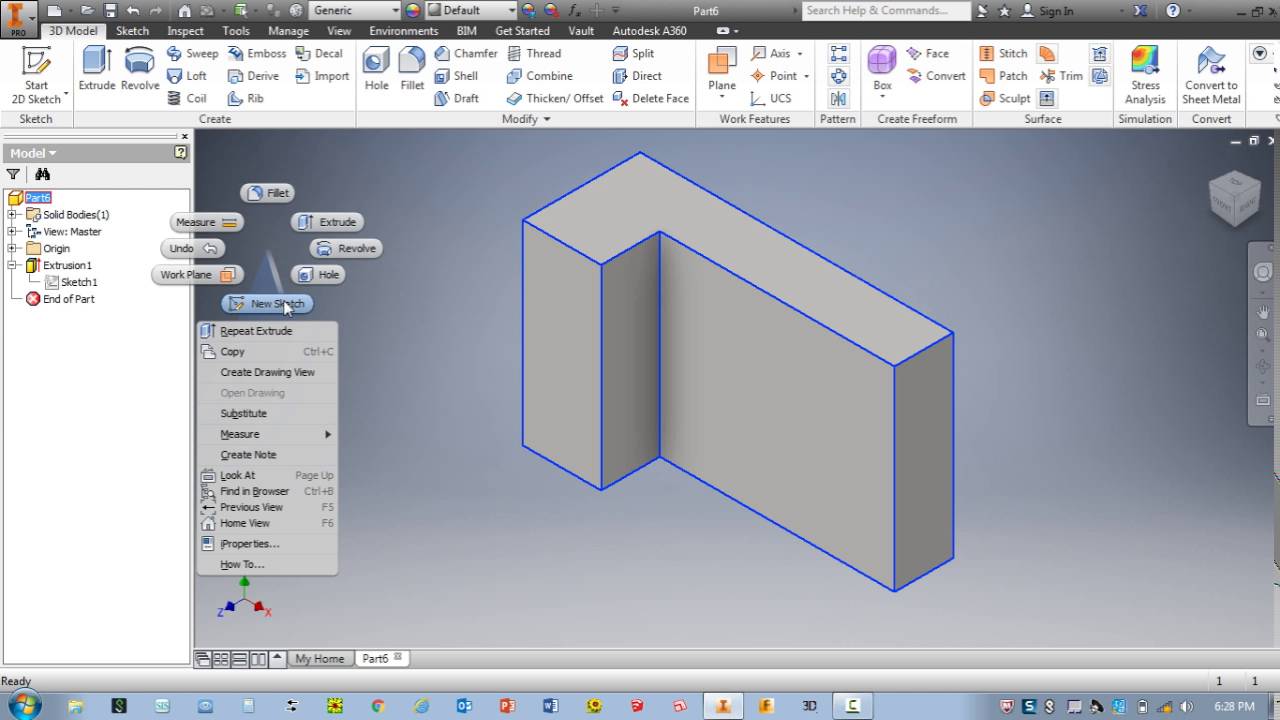
Lets cut to the chase, first you need to download the "Inventor" file(your computer has to have a LOT of storage.)
i also made some models. here is a model
for the main tutorials visit https://sites.google.com/a/fcpsschools.net/ms-inventor-resource-center/home?authuser=0
Model rockets. This is a more recent project made in my engineering 7 class. the rocket consist of many parts, listed below.
igniter solid fuel engine engine mount fins launch lug rocket body shock cord nose cone parachute shroud lines
these are the assembly steps (written by me):
Step 1: Making the body. The body is literally the rocket minus a few features. First, you have to measure the thickness of the cylinder with a plastic tube,then when you find the right roll you glue it shut. After that cover the roll with a colored paper of your choice.
Step 2: The nose cone and wings: wings, first you have to copy down the same type of shape i the book (don’t forget to leave the little hole in it) then copy it down on the more plastic like paper in a pattern and neat enough so that you can fit it 3 times. Cut this out and use the stand to glue the wings on, now your rocket can soar. Second, the nose cone attachment. Three things, the actual nose cone, a string, and a small piece of paper. First you tie two knots on the string to the nose cone. Once you have done that do 3 glued folds on the bottom of the string to the small piece of paper, then you use your gluedobber to put it inside of the cylinder.
Step 3: paint, engine, launch lug, and parachute. I am going to try to put this all together. Paint, well that one is up to you. The engine is put inside the engine holder that keeps it in place with a hole left out so the wires can connect to it. The launch lug is tapped not to low into the wings but half the length. And the parachute you have to cut through the holes, tie string in to them (2-6 holes), then tie the parachute on to the nose cone.
Congrats, you have completed your rocket
and this is how the launch goes (also written by me):
A rocket consist of 10 parts (or at least in this case) like the body, the nose cone, the engine, etc. The way a rocket works is multiple parts. First, the engine is attached to alligator wires that consist of two voltages one higher than the other. The rocket is put on a pole through the launch lug to make sure the takeoff is more vertical. After that when the rocket is ready to launch one of the other sides of the alligator wires (the stronger one) is put on a coil wire, when contact made………..BOOM, your rocket has successfully left the ground.
you can reuse the engine, most recommended engine is the estes fuel engine.
This is another project I made in my engineering class. The thing i made is a practice letter. i made this out of the material of crafting wood. I chose the letter S, which mainly uses the scroll saw but I will explain all of the machines.
Band saw: The band saw is made mainly to cut strait lines. The blade is heavy in a upward position, but if you curve to much it would break. There is a way to make curved cuts, made relief cuts first. Relief cuts are small lines made to allow the saw to make a different approach on the on the block.
Scroll saw: The scroll saw, to me is much more effective than the band saw. It can make swift, and smooth cuts to the block giving it the ability to cut curves. I used this much more because i made the letter S, as you would know it is really curvy.
MOST RECENT PROJECTS 2021:
TSA: Regionals
For TSA this year me and my team produced a animation about the gaming PC and its future. Our goal was to explain what it is, and what it could be